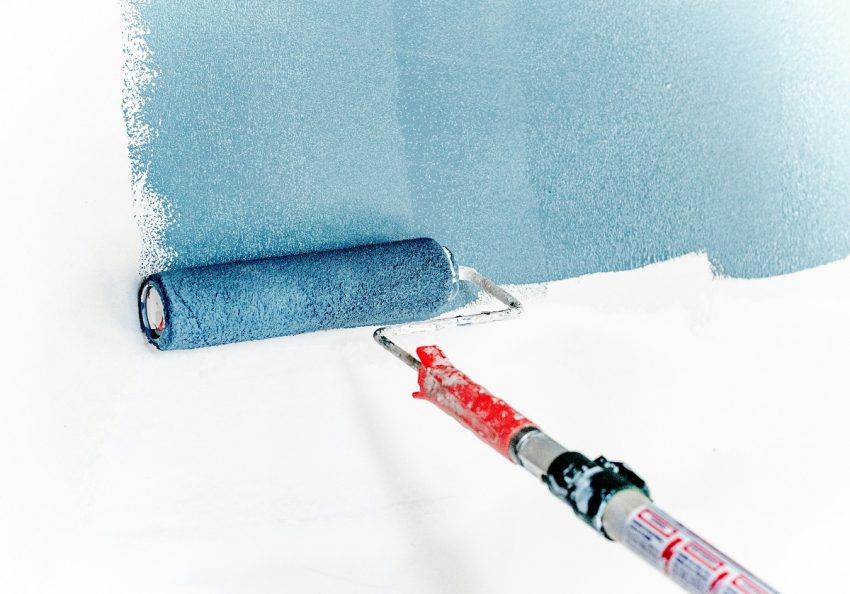
Highlights:
- Keep a wet edge: only paint a section as large as you can finish before the edges start to dry, and always roll from the dry area into the wet one.
- Cut in one section at a time and roll it right away, since brushed edges that dry before you roll beside them are a top cause of visible lap marks.
- Load the roller evenly, so it is fully saturated but not dripping, and reload before it feels dry so you never have to press hard.
- Use light, consistent pressure and the W technique, finishing each section with a gentle top-to-bottom pass in one direction.
- Match your gear to the job: choose the right nap for your wall texture, a quality roller cover, and good paint that levels out smoothly, ideally with a forgiving matte or eggshell finish.
- Prep the surface and control the room: clean, patch, sand, and spot-prime the wall, then check your work under raking light while the paint is still wet.
- Apply two thin coats instead of one thick one, and wait for full drying between coats rather than touching up tacky paint.
You pick a color, spend a Saturday rolling it on, and everything looks great while the paint is wet. Then the wall dries, the afternoon sun hits it from the side, and suddenly you can see every stripe, every darker band, and every spot where one pass overlapped another. If that sounds familiar, you are not alone. Streaks and lap marks are the two most common complaints people have after a DIY paint job, and they are also two of the most avoidable.
The good news is that a flawless-looking wall has far less to do with talent than with technique. Professionals get smooth, even results because they control a handful of variables: the tools they use, how they load the roller, how fast they work, and how they handle the edges of each section. In this guide, we will walk through all of it in plain language, from prep work to cleanup, so your next paint job dries evenly and looks like you hired someone. Grab a coffee, and let’s get into it.
Why Streaks and Lap Marks Happen in the First Place
Before you can prevent a problem, it helps to understand what causes it. A lap mark is the visible line or darker band that shows up where freshly rolled paint overlaps paint that has already started to dry. When you roll over a partially dried edge, you stack a second layer on top of the first in that narrow strip. The extra film thickness and the slightly different texture reflect light differently, and that is what your eye catches.
Streaks have a few different culprits. Sometimes they come from a roller that was loaded unevenly, so one section of the wall gets a heavy coat and the next gets a thin one. Other times they come from pressing too hard, which squeezes paint out the sides of the roller and leaves ridges. A cheap roller cover that sheds fibers or has a rough nap can also leave a pattern behind.
Here are the most common root causes in one place:
- Letting the edge of a painted section dry before you roll the next section beside it
- Applying paint too thinly, which exposes the old color and creates a patchy look
- Using too much pressure on the roller and pushing paint out in ridges
- Starting with a dry roller or one that is overloaded and dripping
- Painting in a hot, dry, or windy room where the paint sets up too fast
- Working with low-quality paint that does not level out as it dries
Notice that almost every item on that list is a matter of habit, not skill. That means you can fix all of it with a little planning, which is exactly what the rest of this article covers.
Gather the Right Tools and Materials
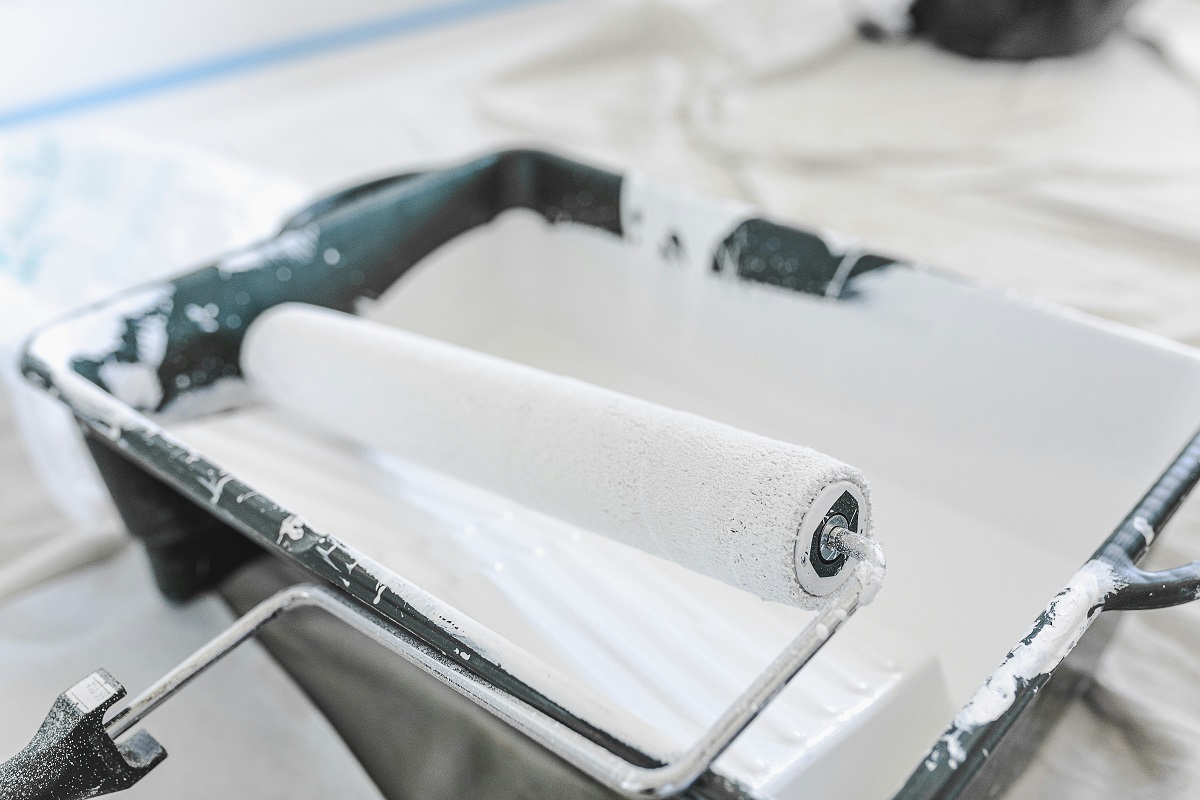
Good results start with good gear, and you do not need to spend a fortune to get it. What you do need is a setup that lets you roll steadily without stopping to hunt for something. Spreading everything out before you open the paint saves you from interruptions, and interruptions are the number one cause of dried edges.
Here is a practical checklist:
- A quality roller frame with a sturdy cage and a comfortable handle
- Two or three roller covers in the right nap size for your wall texture
- A 5-gallon bucket with a roller grid, or a roller tray with a liner
- An extension pole, which lets you roll from floor to ceiling without bending or stretching
- A 2.5-inch angled sash brush for cutting in along edges
- High-quality painter’s tape, if you prefer taped edges
- Drop cloths, preferably canvas, since plastic can be slippery
- A putty knife, spackle, and fine-grit sanding sponge for repairs
- Clean rags, a damp sponge, and a stir stick
The extension pole deserves special mention. Even if you are tall enough to reach most of the wall, a pole changes your posture and lets you use your whole body to roll in long, smooth strokes. That steadier motion helps you apply even pressure, which directly reduces streaking.
Prep the Wall Before You Open the Can
It is tempting to skip prep and get straight to the fun part, but a rushed prep job is one of the sneakiest causes of an uneven finish. Paint does not hide problems. It highlights them, especially when light grazes the surface.
Start by clearing the room as much as you can. Move furniture to the center and cover it, or take it out entirely. Remove outlet covers, switch plates, and anything hanging on the wall. Lay drop cloths along the baseboards and across the floor.
Next, deal with the wall itself:
- Wash away dust, grease, and fingerprints with a damp sponge and mild soapy water, then let the wall dry fully. Kitchens and hallways tend to be the grimiest.
- Fill nail holes and small dents with lightweight spackle, let it dry, and sand it flush.
- Scrape off any peeling paint and sand the rough edges until they blend with the surrounding wall.
- Wipe off sanding dust with a slightly damp rag so it does not get rolled into your fresh paint.
- Prime any patched areas, stained spots, or bare drywall.
That last step matters more than most people realize. Patched spots absorb paint differently than the surrounding wall, which leaves dull patches called flashing. A quick spot-prime evens out how the surface absorbs the topcoat, so the finished sheen looks uniform.
Choose the Right Roller Cover and Paint
Not every roller cover works for every wall, and picking the wrong one can leave texture or fuzz that looks like streaking. The nap, which is the length of the fibers on the cover, should match your surface. As a general guide, smooth walls do best with a 3/8-inch nap, lightly textured walls with a 1/2-inch nap, and heavily textured surfaces like stucco with a 3/4-inch nap or longer.
The material matters too. Microfiber covers hold plenty of paint and give a smooth finish on most interior walls, while woven covers are a dependable choice for latex paint and tend to shed less. Whatever you choose, skip the bargain bin. Cheap covers shed lint, hold paint unevenly, and can leave tiny fibers stuck in the finish.
Paint quality plays a big role as well. Better paints contain more binders and pigment, which helps them flow and level into a smooth film before they set. Cheaper paints can dry faster and look thin, so you end up needing extra coats. If you are working with a deep or bold color, consider asking the paint store to tint your primer toward that shade, since it reduces the number of topcoats you need.
Sheen is worth a thought too. Flat and matte finishes hide imperfections best, while satin and semi-gloss show every roller mark and lap line more easily. If you are a beginner, a matte or eggshell finish is more forgiving.
Prep the Roller and Load It the Right Way
How you load the roller determines how smooth your first pass looks, and most streaks begin right here. A brand-new roller cover is covered in loose fibers, so wrap a piece of painter’s tape around it and peel it off to lift the lint before you start. Then dampen the cover slightly with water for water-based paint, or the appropriate solvent for oil-based paint, and squeeze out the excess. A barely damp cover absorbs paint more evenly than a bone-dry one.
Now for the loading itself:
- Pour paint into the deep end of the tray, filling it about one-third full, so you are not working with a sloppy overflow.
- Dip the roller into the paint and roll it back and forth on the ramp until the cover is evenly saturated.
- Look for a cover that is fully coated but not dripping. If paint is pooling or sliding off, roll it again on the ramp.
- Reload before the roller feels dry, not after. Waiting too long encourages you to press harder, which causes ridges.
Stir the paint thoroughly before pouring, and if you are using more than one can for a room, mix them together in a larger bucket. This practice, often called boxing, keeps slight color variations between cans from showing up as stripes across the wall. It sounds like an extra step, but it makes a real difference, especially with darker colors.
Cut In the Edges Properly
Cutting in means using a brush to paint the corners, edges along the ceiling, and trim areas that a roller cannot reach. It is a major source of lap marks because brushed paint has a different texture than rolled paint. If the brushed band dries before you roll beside it, a visible line appears where the two meet.
The fix is simple: cut in just one section at a time, and roll it right away while the edges are still wet. Painters call this keeping a wet edge, and it is the single most important idea in the whole process.
Here is how to cut in cleanly:
- Dip about one-third of the bristles into the paint and tap off the excess against the can’s inside wall instead of wiping it across the rim.
- Press the brush gently against the wall about an inch away from the corner, then slowly push toward the edge, letting the bristles flex.
- Pull the brush along the edge in one steady motion for a clean line.
- Feather the brushed paint outward so it forms a band of roughly two to three inches, rather than a thick ridge.
- Roll the adjacent area before the cut-in band dries.
When you roll up to the cut-in band, slightly overlap it. That blends the textures together and hides the transition. If you cut in the entire room first and wait an hour to start rolling, the brushed edges will be dry, and those borders become the lap marks you are trying to avoid.
Use the W Technique for Even Coverage
How you move the roller across the wall matters almost as much as how you load it. Rolling in a single straight line tends to leave heavy paint at the start of each stroke and a thin film at the end. The classic fix is the W technique, and it works beautifully.
Here is how it goes:
- Pick a section roughly three feet wide, and start in a top corner.
- Roll a large W or N shape onto the wall in one continuous motion, working from the bottom up and back down.
- Without lifting the roller, fill in the gaps by rolling back and forth in smooth vertical strokes until the shape is blended into an even rectangle.
- Finish with a light, top-to-bottom pass, lifting the roller gently at the end of each stroke so you do not leave a hard line.
Pressure is where most people go wrong. You want to let the roller do the work, using just enough force to move it along the wall. Pressing hard squeezes paint out of the sides of the cover and leaves raised ridges, which show up as stripes once everything dries. A light, consistent touch gives a smoother film.
Also, keep the roller turning in the same direction as you finish. Switching directions halfway through a section can change how the paint lays down, so decide on a final stroke direction, usually vertical, and stick with it across the wall.
Work in Small Sections and Keep a Wet Edge
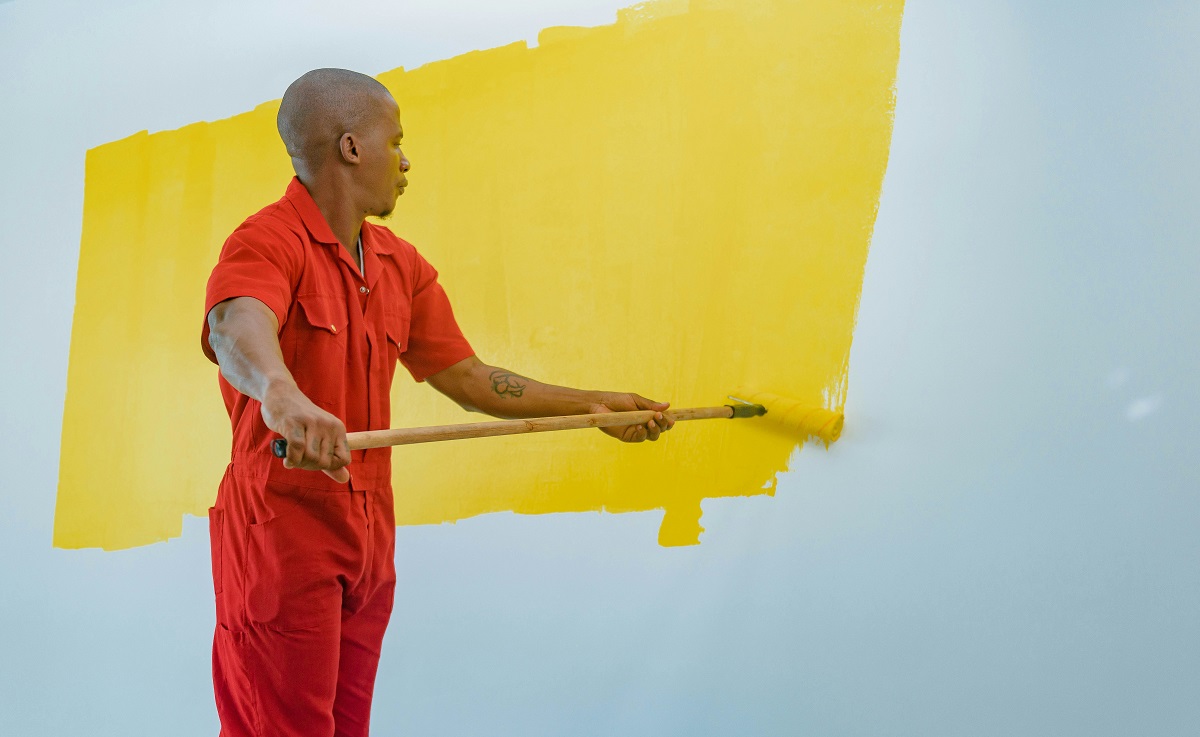
The wall is a big surface, and paint begins to set within minutes. That means the way you divide the work will either protect you from lap marks or invite them in. The rule is simple: only paint as much as you can finish while the edges are still wet.
A good rhythm is to work in vertical sections about three feet wide, running from ceiling to floor. Finish each section before moving over, and always roll from the dry area into the wet one, not the other way around. That way, you blend fresh paint into the section you just finished while it is still workable.
Painting a single room is one of the quick projects for busy homeowners, which tempts a lot of people to rush through it. But speed is not the same as efficiency here. Rushing leads to patchy coverage and forces you to go back and fix mistakes, which takes longer in the end. Moving at a steady, comfortable pace lets the paint level out naturally.
A few habits help you stay on track:
- Always paint from the top of the wall to the bottom
- Overlap each new section onto the previous one by a couple of inches while it is still wet
- Avoid stopping in the middle of a wall, since a pause creates a visible seam
- Keep a helper nearby if you can, with one person cutting in and the other rolling
- Finish a full wall before taking a break, ideally ending at a natural corner
If you absolutely need to stop, do it at a corner or at the edge of a wall, where a seam will not be noticed.
Pay Attention to Lighting, Temperature, and Humidity
The room itself affects how your paint behaves. Heat, dry air, and strong breezes make paint set up faster, which shortens the window you have to blend wet edges. High humidity does the opposite, slowing the drying process and sometimes causing drips or a tacky finish.
As a rule of thumb, most latex paints work best between 50 and 85 degrees Fahrenheit, with moderate humidity. If you are painting in a warm, dry space, close the windows to keep breezes out and avoid pointing a fan directly at the wall. Good ventilation is still important for your comfort, but save the heavy air movement for after you finish.
Lighting is the sneaky one. A wall that looks perfect under overhead light can reveal every flaw when the sun streams in from the side. Before you start, turn off the room’s main light and position a bright work lamp so it shines across the wall at a low angle. This is called raking light, and it exposes missed spots, roller ridges, and thin areas while the paint is still wet and easy to fix. Check your progress from a few different angles as you go.
If your room gets direct sunlight at certain times of day, try to schedule your painting when the sun is not hitting the wall you are working on. Direct sun heats the surface and makes paint dry unevenly.
Fix Problems Before They Dry
Even with great technique, you will occasionally spot a missed patch or a roller line. The trick is to catch it quickly. If you notice a thin spot or a streak while the paint is still wet, simply roll over it again with a lightly loaded roller and blend it into the surrounding area.
Once paint begins to dry, however, touching it up becomes a gamble. Rolling over tacky paint pulls it off the wall, leaving gummy patches or bare spots. If an area is already tacky, leave it alone and wait for the full recoat window listed on the can, usually a few hours for latex paint.
For the second coat, follow these tips:
- Wait until the first coat is completely dry to the touch, and check the can for the recommended recoat time
- Inspect the wall under raking light and mark any spots that need attention
- Lightly sand rough spots or drips with a fine-grit sanding sponge, then wipe away the dust
- Use the same roller and technique as the first coat so the texture matches
- Cut in again along the edges before rolling, keeping that wet-edge rhythm
Two thin, even coats almost always look better than one thick coat. Thick coats tend to sag, drip, and dry unevenly, which creates more of the very marks you are trying to avoid. Remember that patience between coats pays off in a smoother final finish.
Clean Up and Care for Your Tools
Good cleanup keeps your tools in shape for the next project, and it keeps dried paint from ruining a roller you might need to reuse. If you plan to take a break between coats, wrap your roller and brush tightly in plastic wrap or a zip-top bag and seal the paint can. That keeps everything from drying out for several hours, or even overnight.
When the job is finished:
- Scrape excess paint from the roller back into the can using the edge of a putty knife or a 5-in-1 tool
- Rinse the roller cover and brush under warm running water with a little mild soap until the water runs clear
- Squeeze the roller cover out, stand it on end, and let it dry completely before storing
- Comb the brush bristles straight, reshape them, and hang the brush to dry
- Press the lid back onto the paint can firmly with a rubber mallet or the handle of a hammer, and store it somewhere cool and dry
- Peel the painter’s tape off at a slow, shallow angle while the paint is still slightly soft, which helps prevent chipping
Keep a little leftover paint in a small labeled jar for future touch-ups. Write the color name, sheen, and the room it came from on the label, so you can match it later without guesswork.
Wrapping It Up
Painting a wall with a roller does not have to end in streaks or visible overlaps. Prepare the surface, choose the right roller and paint, load the roller evenly, and keep a wet edge as you work in manageable sections. Add a light touch, steady pace, and good lighting, and you will see the difference in how smoothly the paint dries.
Most importantly, give yourself enough time to do it without rushing. A calm, steady approach beats speed every time, and the result is a wall that looks even from every angle. Pick a color you love, set up your tools, and enjoy the satisfaction of a job well done.